Fall Updates
Two posts a year is good right? Well I am going to pretend it is and aim to post a bit more. We have been busy but wanted to post a couple of updates. The first is we are going on a year with our first dive into home automation and monitoring with the RaspberryPi – we have a cellar that we automated the ventilation of and built in the ability to monitor it anytime any where. Additionally, we have a monitor on our chest freezer now that is our cache of meat from hunting and odds and ends from the garden, the freezer is older than me and it would be devastating to lose it and know about it.
The freezer is pretty simple, actually both the freezer and the cellar are quite simple and just make efficient use of technology to do what would take us time everyday to do, should we open the damper in the cellar? Is the freezer staying cold enough? At some point in the near future I am aiming to have complete write up of both but today I will give you the top line description of the cellar project. In the north east corner of our basement was a room that because of how the house was built was buried on three sides with one interior wall. On the north end of that room was a window that needed replaced, as did the other three in the basement. These have been since replaced, but back to the cellar. The window in the cellar was replaced with an insulated wood panel, in the middle of that panel was a home built damper we built with a small motor wired to a couple of limit switches and a relay. In addition to opening and closing the damper baffle the relay controls a fan used to boost convection when the damper baffle is open. This relay is driven by the output from the RaspberryPi, a picture of the damper can be seen below.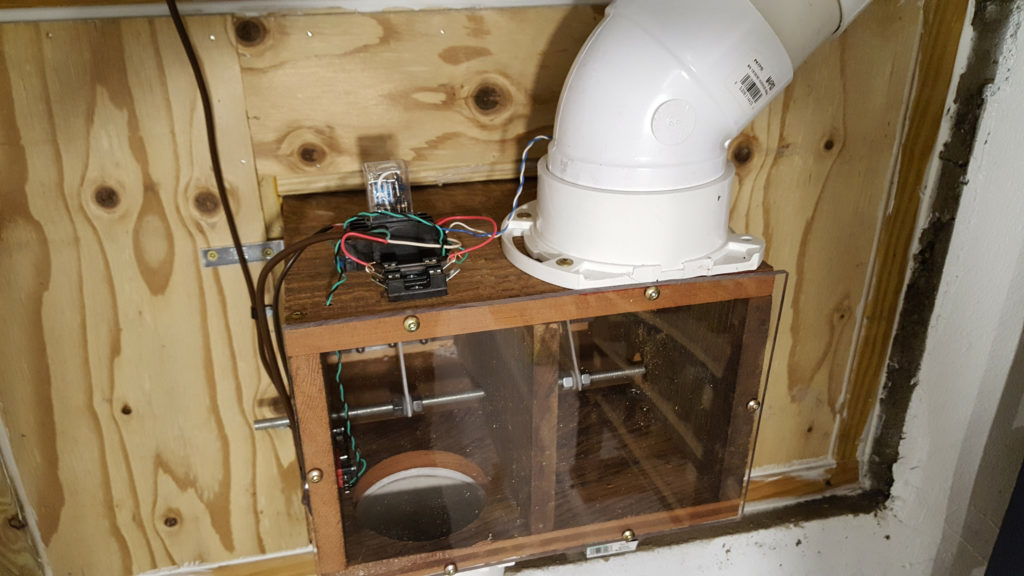
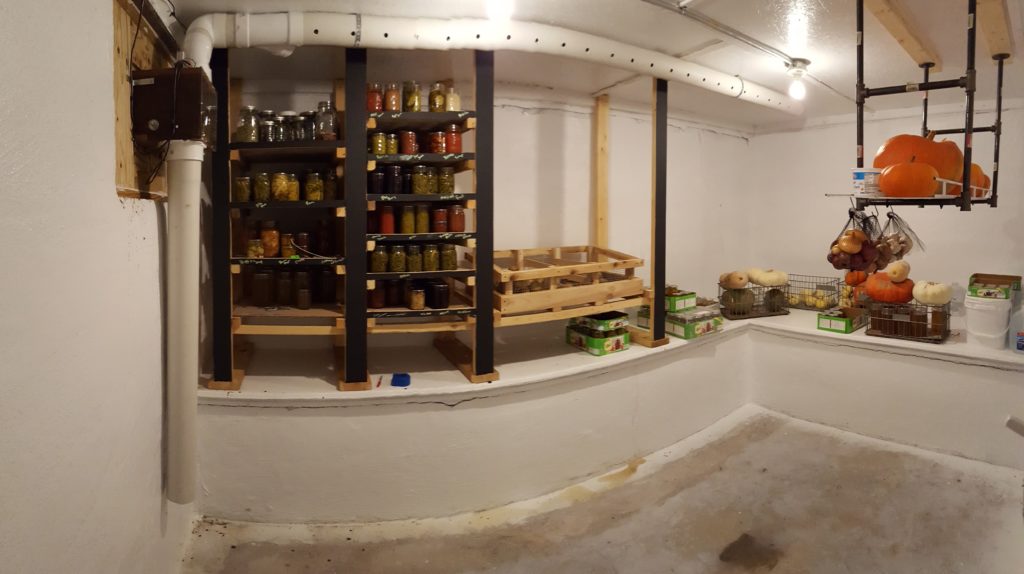
The RaspberryPi reads the temperature and humidity of the the cellar in two places as well as outside, additionally it monitors its own battery to make sure that should the power go out and the battery get low it will shut itself just in case it is a bit too cold outside. Sure we could look at a thermometer outside and compare it with the temperature inside and make a decision but the RaspberryPi can do it all night and day everyday. More soon on this build but I wanted to put some time between implementation and documentation, like a year. One more teaser picture below that was poorly stitched together by my phone.
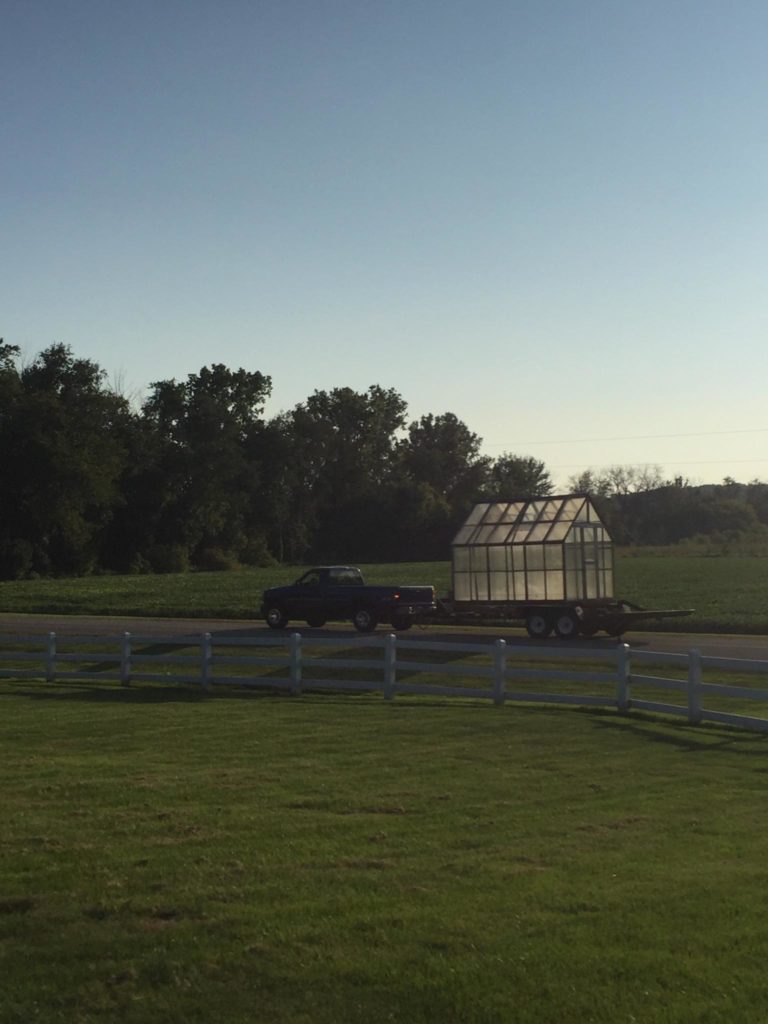
And finally, since we have been over here just sitting on our hands, we were gifted a greenhouse this fall. Not something we had planned on but it came up on Craigslist and we were reminded how small the world is. But we picked it up, moved it 10 miles down the road and its sitting in the barn being refurbished, I think I smell another Pi project coming.
