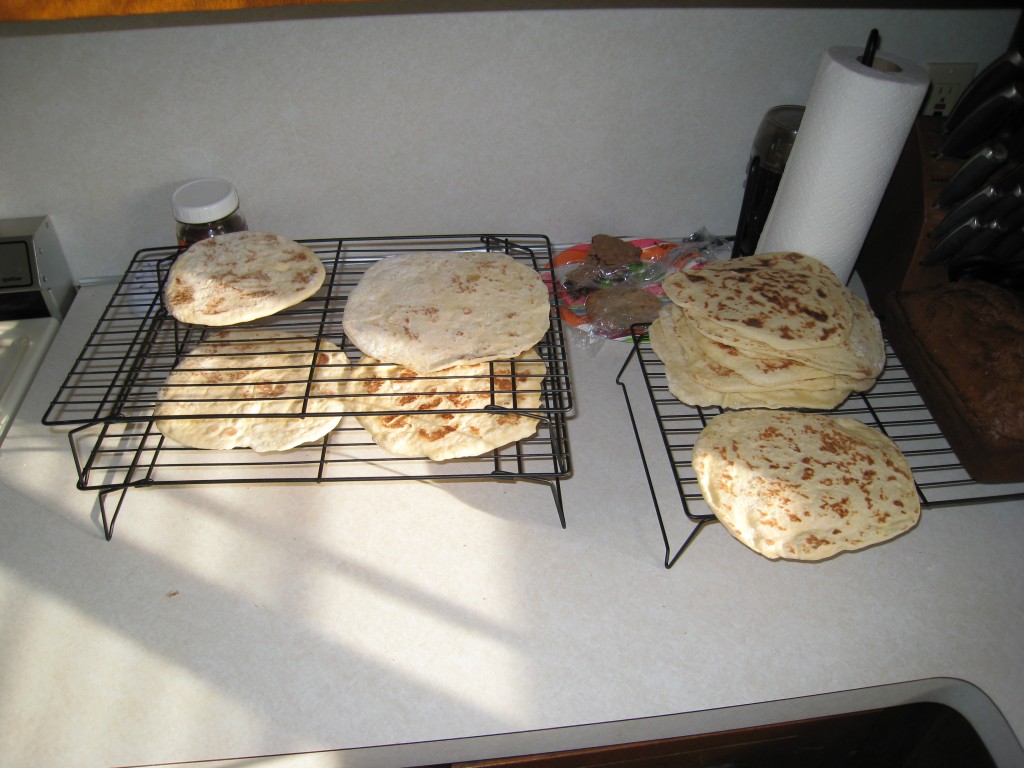
In addition to the left over black beans that we made soup with yesterday, we also had some left over garbanzo beans from our chicken enchiladas.  We had decided to make some hummus with them.  As opposed to going to the store to get some pitas to enjoy our hummus with I decided to try my hand a pita making this afternoon, and the result was worth all the effort.  I made a sweeter pita bread similar to that used at Olga’s kitchen, in fact it could give Olga’s a run for its money.  Even though pita making is rather labor intensive, make the dough, let rise and then cook individually; the results are worth the effort.

fresh pita bread cooling

The recipe I used to create this tasty masterpiece is as follows:

Ingredients
1 c hot milk (185°F)
1/4 c warm water (110°F)
1/4 c honey
1 egg
4 c flour
1 tsp salt
2 tsp dry active yeast
1/4 c margarine (room temperature)
1 tsp sugar

Instructions
Place warmed milk, margarine, honey and salt in a large bowl, stir until margarine is melted, let cool.
Meanwhile, in a small bowl combine sugar, yeast and warm water, let sit.
Once margarine/milk/honey mixture has cooled to at least (110°F), add 1 1/2 cups flour and eggs.  Mix well.
Add yeast mixture and remaining flour 1/2 cup at a time, mix thoroughly.  Dough should be sticky.
Knead dough on a flour board, until it well resembles dough.
Place dough in a large bowl, oil top of dough with olive oil, cover and let rise until doubled in size. Punch down.
Break dough into 16 equal balls, and roll out to 1/8″ thick rounds.
Cook rounds individually in a large hot skillet over medium high heat for 15 second, flip cooking for 15 more seconds.
Eat immediately or cool on cooling racks and place in an airtight container in the fridge.  Heat for a few minute on cookie sheet in oven when ready to eat.

Not only were the pitas good the hummus on them we tasty as well.
Tagged with: ,

Well after our healthy meal yesterday we had a few extra black beans….my bad, so we decided to make some soup with it today and it was incredible, flavorful, hearty, easy to make and wife approved. We topped it with cilantro and a dollop of sour cream.  However it was not very photogenic so we forwent to photo.  Here is the recipe we used:

Ingredients
3/4 c dry black beans
4 strips of bacon (4oz), chopped
1 small onion, chopped
1/4 red bell pepper, chopped
3 cloves garlic, chopped
2 chopped dried jalapenos
1 carrot chopped
1 tsp dried oregano
1/4 ground thyme
1/2 bay leaf
48oz chicken broth
1/2 tsp black pepper
sour cream and cilantro for garnish

Instructions
Place beans in a bowl and cover by 3 inches of cold water, soak overnight.

Cook bacon in a large pot until golden, remove bacon from pan and discard all but 1 tbsp of bacon grease.

Add bacon back into pan with onion, garlic, jalapeno, thyme, oregano and bay leaf, saute until onion is softened, stirring frequently.

Add beans, chicken broth, and pepper.  Simmer partially covered stirring occasionally until beans are tender usually 2-2 1/2 hours.

Serve with a dollop of sour cream and cilantro and possibly a little cheese.

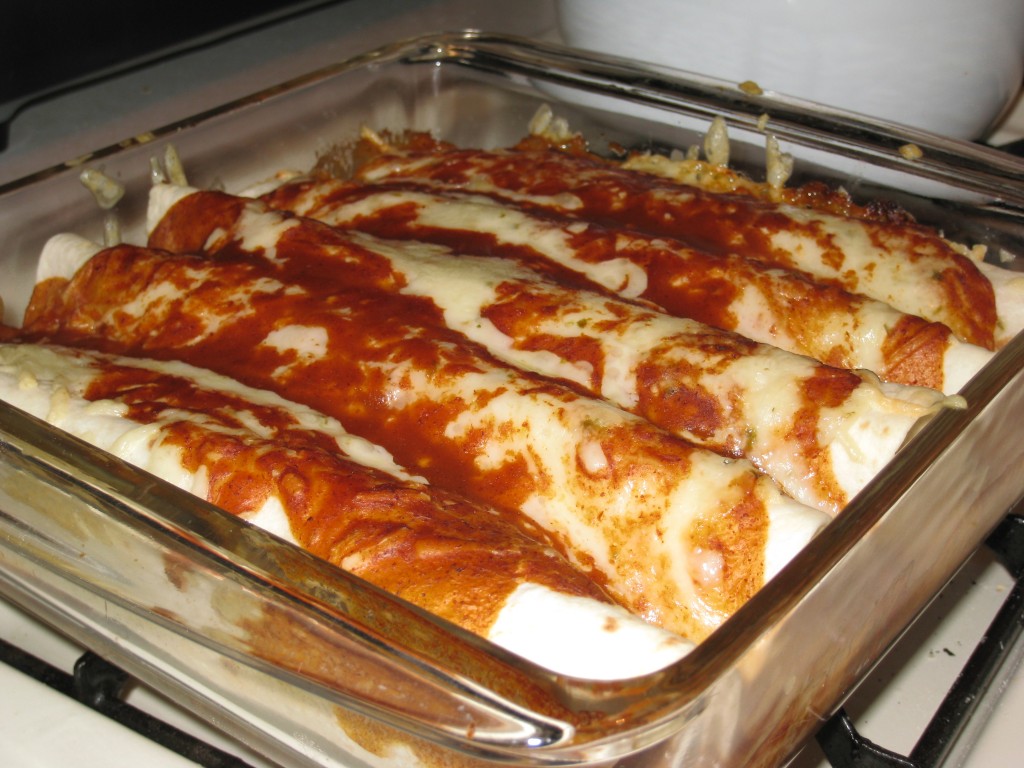
Well tonight was an experiment. Can we make chicken enchiladas, that are healthier and taste good? Well we gave it a try and here is what came out of it.

Chicken Enchiladas

What we pulled from the oven exceeded my expectations, it was tasty, a little bit spicy and tasted like an enchilada.  We topped ours with sour cream and vowed that next time we would make fewer, plumper enchiladas.

The recipe we used was as follows:

Ingredients:
2 tsp canola oil
2-3 chicken breasts (about a half pound), cubed
1 bell pepper, seeded and chopped
1 small onion finely chopped
1 jalapeno finely chopped
1 tsp chili powder
1/2 tsp ground cumin
1 can stewed tomatoes
3/4 c canned black beans, drained and rinsed
3/4 c canned chick peas, drained and rinsed
black pepper to taste
8oz shredded Pepper Jack Cheese (could substitute with Monterey Jack)
1 bottle enchilada sauce
8 8″ flour tortillas

Instructions
Preheat oven to 350°F.  Spray a 9″x13″ glass pan with non stick cooking spray.
Heat oil in a skillet, add in green pepper, jalapeno, onion and chicken, cook until chicken is cooked through.
Add in chili powder and cumin, cook, stirring for about a minute.
Add in the tomatoes, beans, chickpeas and pepper, stir and simmer for about 5 minutes until juice is reduced.
Fill each tortilla with chicken mixture and roll.  Place seam side down in glass pan, cover with cheese and enchilada sauce.
Back for 30-35 minutes until cheese is melted and enchilda is heated through.
Let stand for 10 minutes before eating.

Tagged with: , ,

Well I have officially smoked my first turkey breast and I am not sure if there is any better way to cook a turkey.  A couple weeks ago my father had smoked up a turkey breast and it was tasty, with our Thanksgiving potluck coming up tomorrow at work I decided I shall bring a smoked turkey breast and thus what started my journey.

Thankfully and as is typical the week of Thanksgiving turkey breast was on sale at my local supermarket.  I picked up a fairly sized 7 lb turkey breast and began to thaw it Sunday morning.  Once thawed I brewed up a brine to soak the meat in.  The recipe is as follows:

Ingredients
7  c water (cold, filtered, non-chlorinated)
3 tbsp salt
3tbsp dark brown sugar
3/4 tsp garlic powder
3/4 tsp cajun spice (I used Penzey’s Cajun Spice)
3/4 tsp celery seed
Fresh sage, Basil, Cayenne to taste

Instruction
Mix until all salt and sugar has dissolved.  Refrigerate for at least 2 hours.

From there I washed my turkey breast and and placed it in a 1 gallon zip lock freezer bag.  Once the brine had properly cooled and had a chance to mature a bit in the fridge I poured it all in the zip lock with the turkey breast and put it back in the fridge to brine over night and while I was at work the next day (about 18 hours).  Just in case the structural integrity of the zip lock was compromised I placed the zip lock in a large bowl and placed the large bowl in a pie plate, to contain the spillage should the worst occur.

Upon arriving home this evening I got the smoker fired up (used the Afterburner on the Charcoal unit, I had cheese to smoke too!), and prepared the solution to sit in the water pan consisting of a bit of apple juice, a small bit of white wine and water to fill the pan about an inch from the top, I also had a similar solution to fill the pan as needed throughout the duration of the smoke.

With the smoker heating up, I washed the meat and patted it dry with some paper towel, I then brushed it with Olive Oil and rubbed it sparingly with Penzey’s Cajun Seasoning (this is some good stuff).  Once the smoker was heated to 275ºF (I was in a hurry)  in went the turkey breast and a chunk of hickory wood and a handful of cherry chips.  I did add an additional chunk of hickory during this nearly 4 hour smoke.  Once the temperature of the thickest part of the breast reached 165ºF, I pulled it and set it to rest, covered with aluminum foil and a thick towel quadrupled over for about 10 minutes.

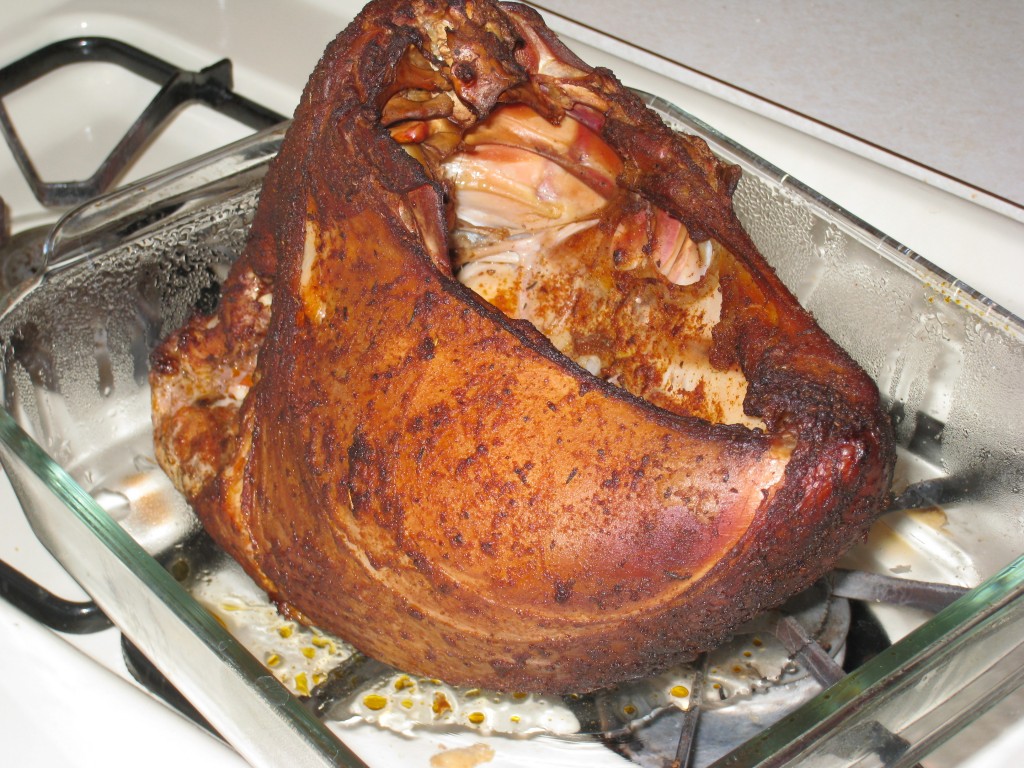
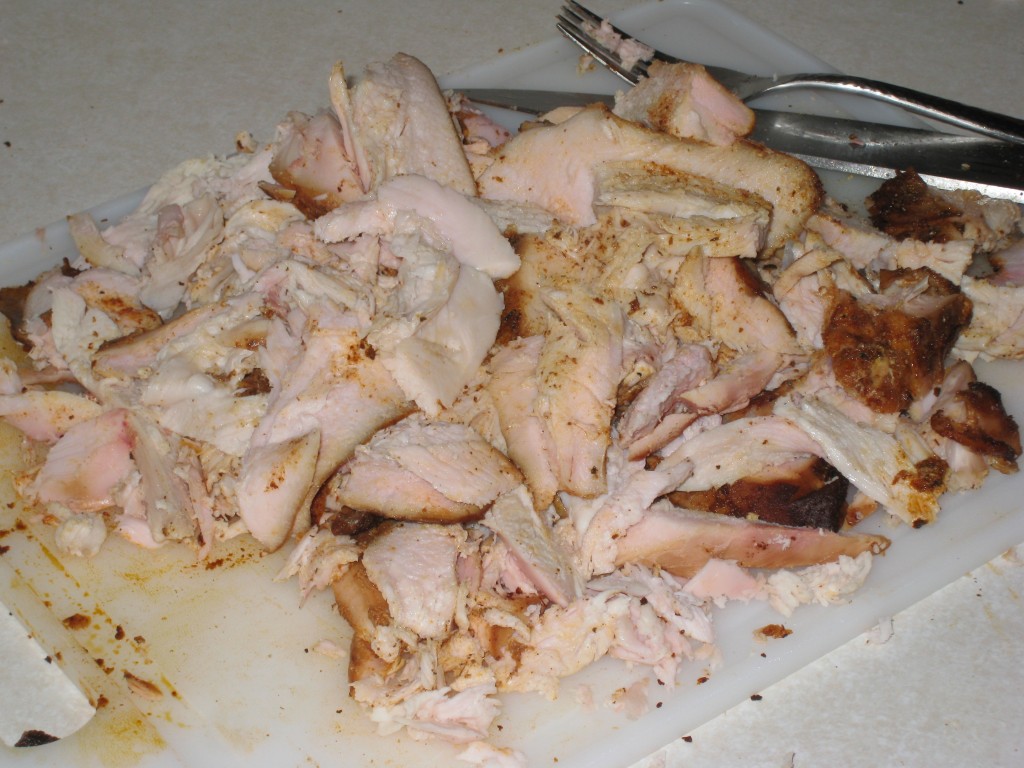
Smoked Turkey BreastNext came the best part, slicing this masterpiece up and taste testing it.  While slicing it I knew it would be good, almost too good to let go.   It looked incredible and tasted about the same, the cajun spice gave the skin a nice kick while the inside had a hint of smoke and was almost dripping wet it was so juicy, it was tasty.  The wife agreed, although she did not care for the cajun seasoning, said it was too spicy.

Sliced smoked turkey breastSmoking this was really pretty easy with the propane maintaining the heat and the flavor, texture and moisture were spot on.  If it weren’t for stuffing I am not sure why anyone would ever do a turkey in the oven again, I know I wouldn’t.  After this I am excited to do my next turkey, whole.

Tagged with: , , ,

I have found the the best time to sit down and write a recipe review is while stuffing my face the result of that recipe.  And tonight is a prime instance of this, all that is missing from this late afternoon dessert is a bit of coffee.

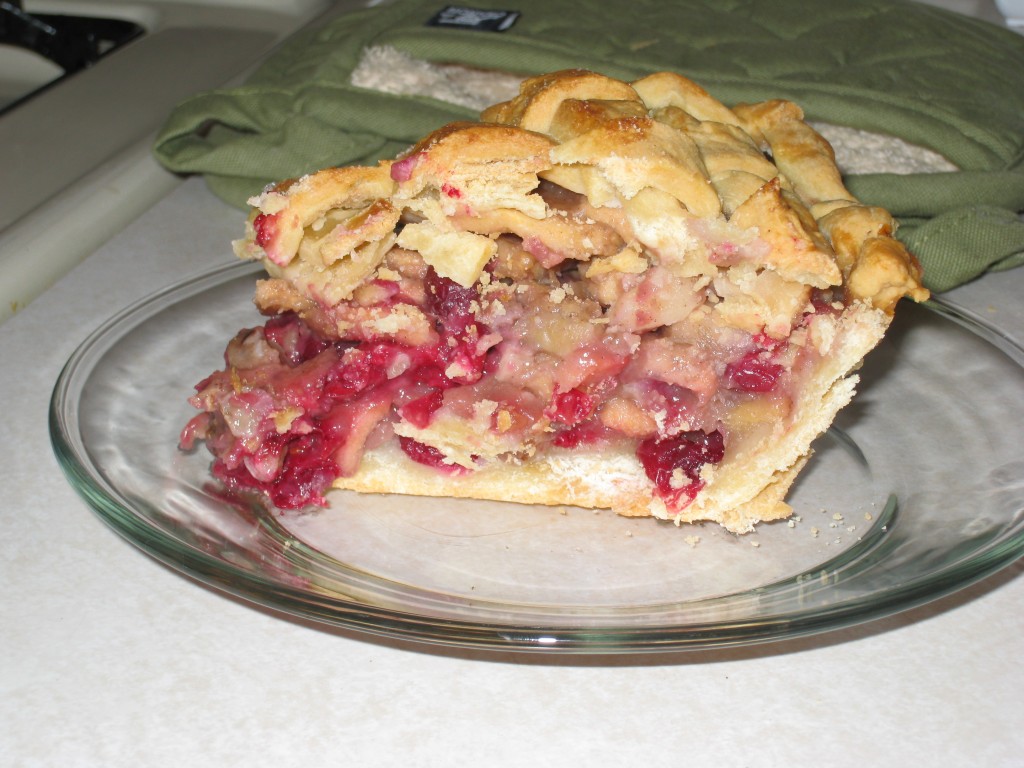
Cranberry Apple Walnut Pie

But let me back up, yesterday was well sort of a first for me.  I had never prior to yesterday made a real pie start to finish, sure I made Key Lime pie which is a chore but just used crumbled up cracker, sugar and margarine for a crust.  So yesterday the journey began using a set of recipes I had found in Midwest Living some time ago.  (By the way thank you to the previous renters at my address for not forwarding your mail, I hope all that stuff marked urgent and last notice wasn’t important, I digress.)  One was for the pie itself and another for the crust, which is certainly not a Weight Watches approved crust.

Double Pie Crust Recipe
Ingredients:
3 1/2 c flour
1 1/2 tsp salt
3/4 c cold margarine (butter) cut into pieces
1/4 c butter flavored shortening
7 tbsp cold water
1 egg beaten
2 tsp lemon juice

Instructions
Mix flour and salt.  Add in margarine and shortening until pea sizes pieces form.

Mix remaining ingredients in separate bowl. Combine all ingredients tell wet throughout.

Turn out onto lightly floured surface and work into a ball with hands.  Divide in half and roll out one at a time into pie crusts.

Bake as directed in pie recipe.

Apple-Cranberry-Walnut Pie
Ingredients
1 c cane sugar
1/3 c flour
1/2 tsp ground cinnamon
2 lbs tart cooking apples, peeled cored and sliced (I used my Apple Peeler-Corer-Slicer to make the job easier)
2 c cranberries (fresh)
1/2 c chopped walnuts
2 tbsp margarine (butter)
milk, sprinkle of sugar

Instructions
In a small bowl mix flour, sugar, cinnamon.  In a large  bowl mix fruit an walnuts.  Sprinkle sugar mixture over fruit tossing to combine.

Roll out first pie crust and place in pie plate, add in filling mixture and distribute evenly.

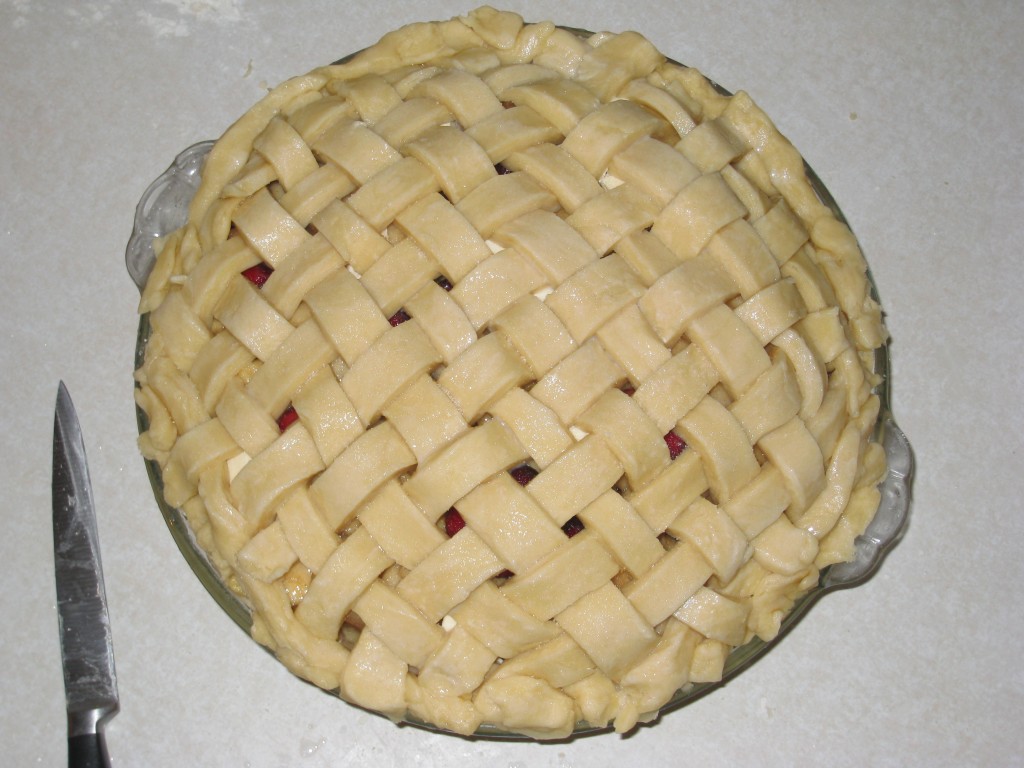
Roll out remaining pie crust and either just cover and cut a slit in to allow steam to escape of do as I did and give it a nice weave, which makes it look all the more tasty.

Brush top crust with milk, sprinkle with sugar and place in the over for 90 minutes (give or take) at 325ºF.  Remove when crust is lightly browned and fruit is tender.

Pie ready for the oven

You’ll notice the weave which was tricky but looked outstanding when it came out.

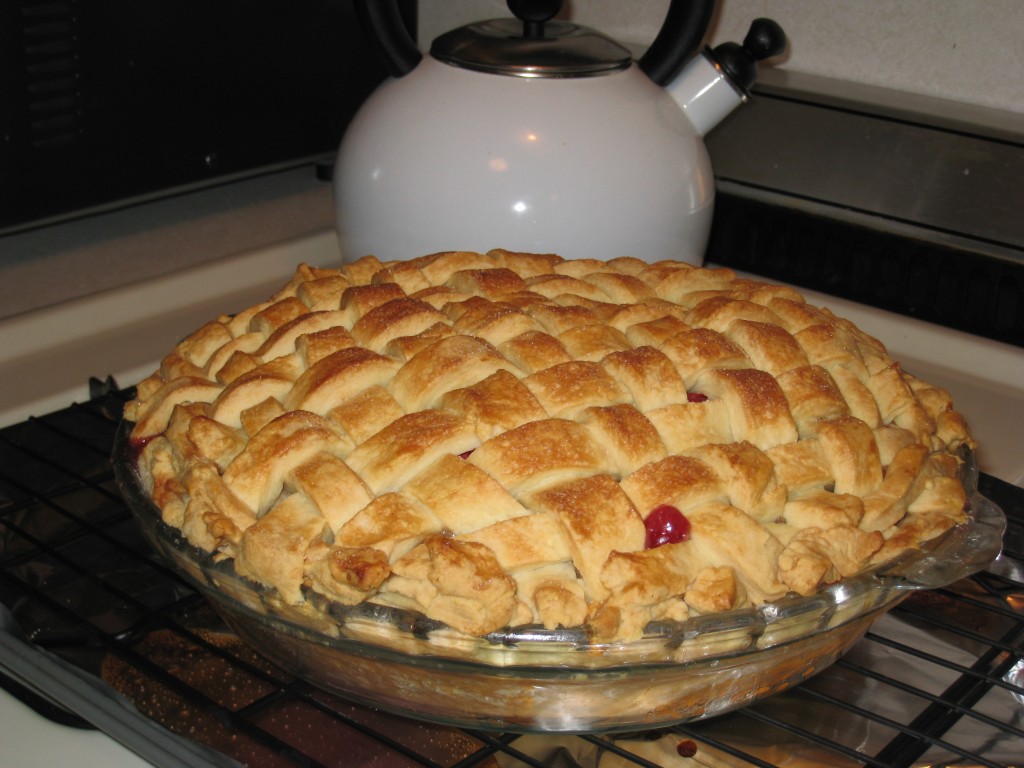
Pie!

I am not gonna lie that is one fine looking pie for a rookie and while it was not the best pie I have ever had it was way better than most.  The tartness of the apples and the cranberries make this pie quite unique and the crust was pretty good as well.

Tagged with: , , , , ,