Smoking is no joking matter
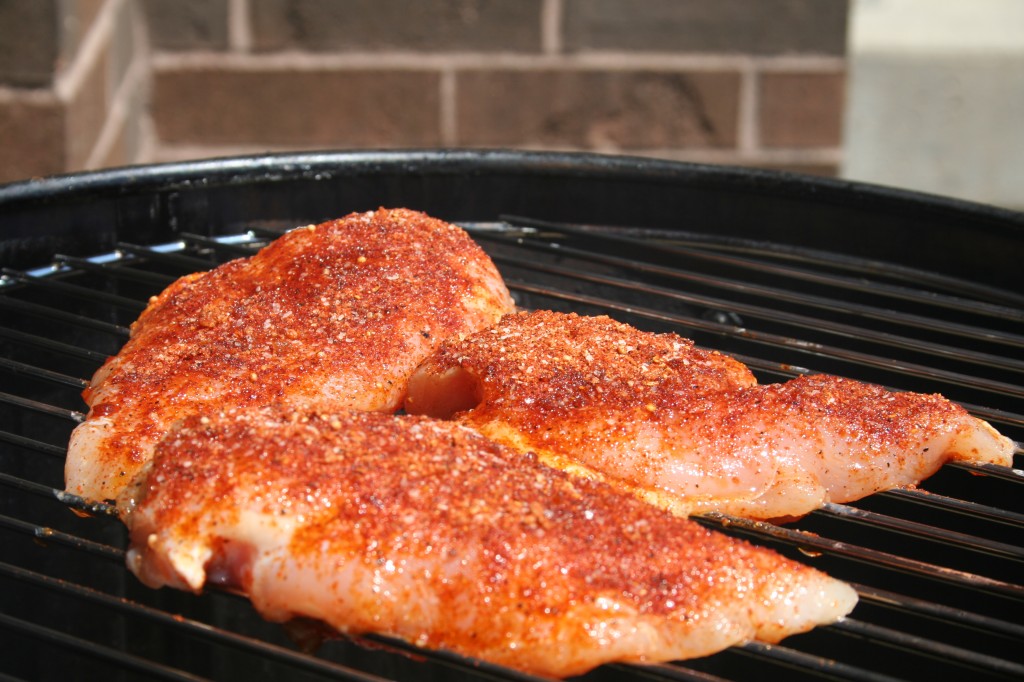
So today I decided I was going to try a new rub on some chicken breasts and smoke them up over some apple and hickory wood. And that is when it happened, I got cocky and ruined a today’s smoke. I decided I didn’t need the rack over the water pan, I didn’t want to have to clean another rack, one is enough. I was going to have some delicious chicken breasts for dinner, but ended up with Subway.
Here is how it happened, the chicken was cooking along and I had basted it with some bbq sauce and honey. I then allowed it to come up to temperature and was ready to remove it and that is when it happened. I pulled the lid off and somehow the rack swung around and dumped my delicious looking chicken in the water pan. Which was disgusting, so I threw it away, but not without trying it first. It was incredible, so look for that in the next couple of weeks I have a special rub I made for it that is tasty.
So with all of that aside I did take lots of pictures along that way and thought this would be an excellent opportunity for a smoking primer using the tools and methods I use. I am working with a Brinkmann Gourmet (Charcoal), I also have the electric version of the same but opted to go with the charcoal one today. I didn’t use the charcoal portion of it I used my propane after burner. Smoking with propane is easy, this was a worth while mod for easy smokes, almost so easy it takes away some of the challenge; light it and find the temperature and away you go.
Well its not that easy so here is the easy to get going guide, I am sure I will adopt my process as I get more experienced in smoking but until then here is how I do it.
Getting fire started and the smoke rolling
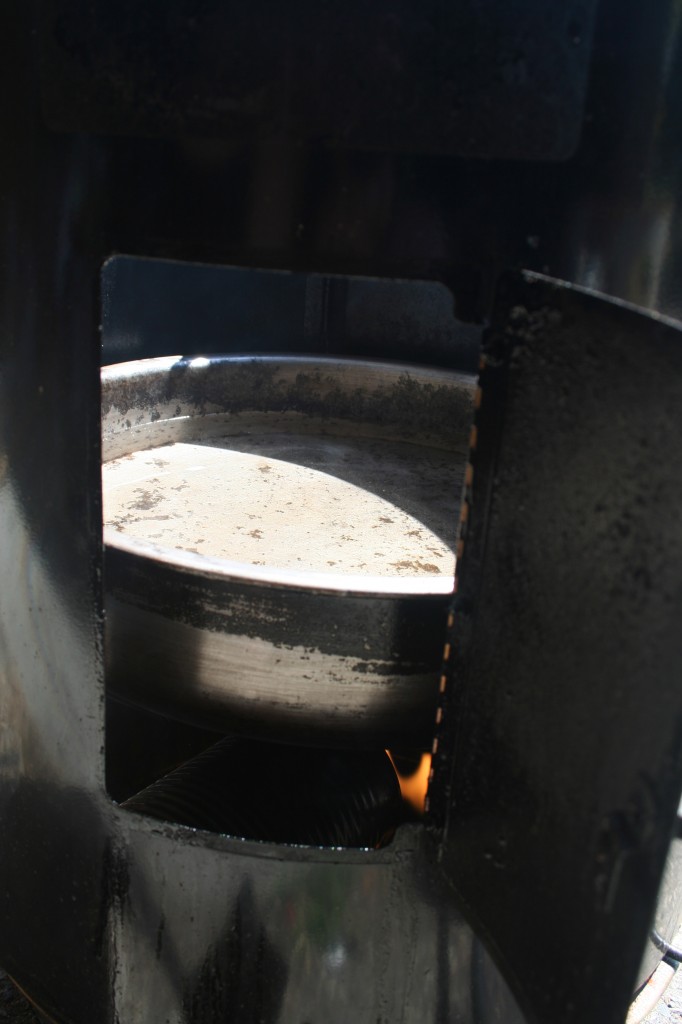
Getting the fire started is easy turn on the gas and light it up. Getting the smoke started with this set up is almost as easy. I have an old large tomato juice can I set over the flame on the rest built into the after burner. Once the can is in place I add my wood chips or chunks, depending on what I have on hand. I do not soak my wood. I don not add all the wood for my smoke at once but I add it throughout the smoke.
Regulate the temperature
I start by putting the rest of the smoker on the burner and then adding the water pan and water to the water pan. I like to boil my water on the stove prior to adding it to the watering pan. It helps to bring the temperature up quicker. I add enough water to fill the pan up to about 1 inch from the top of the water pan. For short smokes, less than 4 (at 225°F) hours this is usually plenty of water. For longer smokes keep an eye on the water pan.
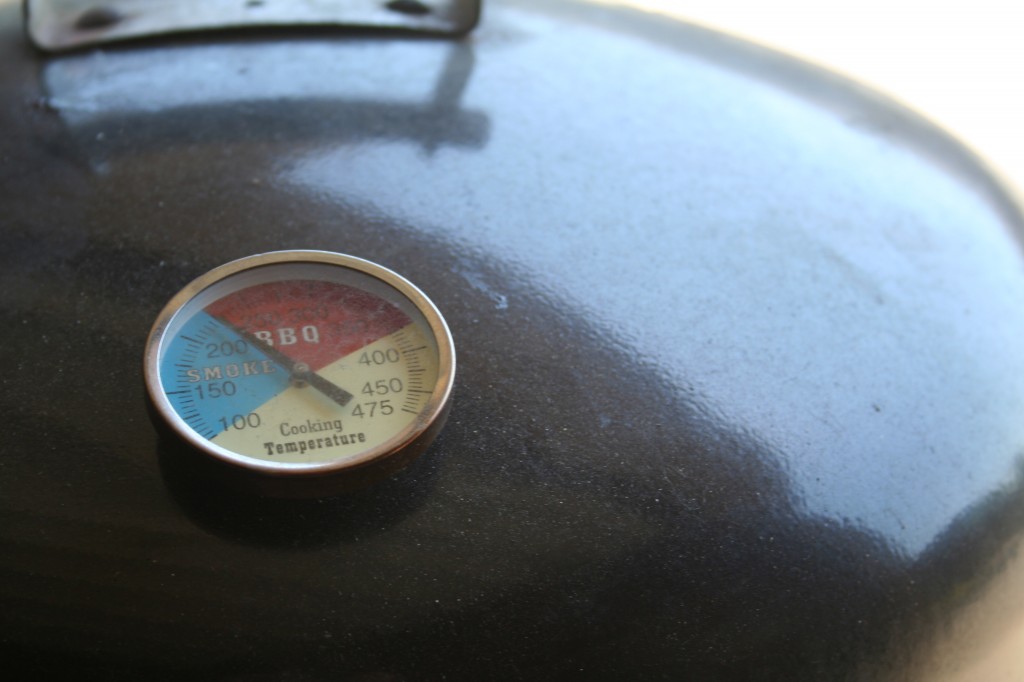
Once the water pan is full, I start out with the burner on its lowest setting and work my way up to the sweet spot for most hot smoking, 225°F. It is important to keep on eye on the temperature during the smoke since things such as ambient temperature, sun and wind can directly impact the temperature of the smoker with the same burner setting.
Adding the meat
Now for the best part, add the meat. Well not so fast, first I oil up my rack with canola or olive oil to make sure the meat doesn’t stick and to make clean up much easier. Then its on with the meat and throw the rack in the smoker. Now is an opportune time to insert an electric remote thermometer if you are using one. Replace the lid and get smoking!
Final notes
Once you temperature has evened out and settled where you want it and the smoke is rolling nicely, you job is not done. Check back frequently, make sure the smoke is still flowing, the water pan has plenty of water or at least is not dry and the temperature is right where you want it. Smoking is not a fire and forget task, it requires frequent attention to deliver a consistently fantastic result.


Leave a Reply