I am sure this will not be the last episode of Adventures in Jerky but is was certainly a successful one and one with lessons to be learned.  Since the jerky turned out so well last time I made it and all but a hurricane was forecast here today; it seemed like a great day to make jerky. I could turn on the electric smoker, crack the garage door and the window, and let it works its’ magic.

It all started last night looking for what type of jerky to make, I wanted to make sure pepper jerky but I am not sure exactly how I want to go about that yet.  So pepper jerky is back burner-ed, although I think it I have it figured out.   Anyways back to today’s jerky.  Today’s jerky consisted of Teriyaki Sesame jerky and a BBQ jerky.  Both of them came out quite alright.

Once I had figured out what kind of jerky I was making.  It was off to the store to scope out some meat.  This is where I made a mistake, I bought the cheapest bottom round roast I could find.  Big mistake, after I trimmed a 1/4 pound of fat off the roast, you really don’t want any fat in your jerky it will spoil much quicker, I sliced it into fairly uniform slices across the grain about a 1/4 inch thick with a couple of thinner slices that would be done well before the rest for some early on sampling.
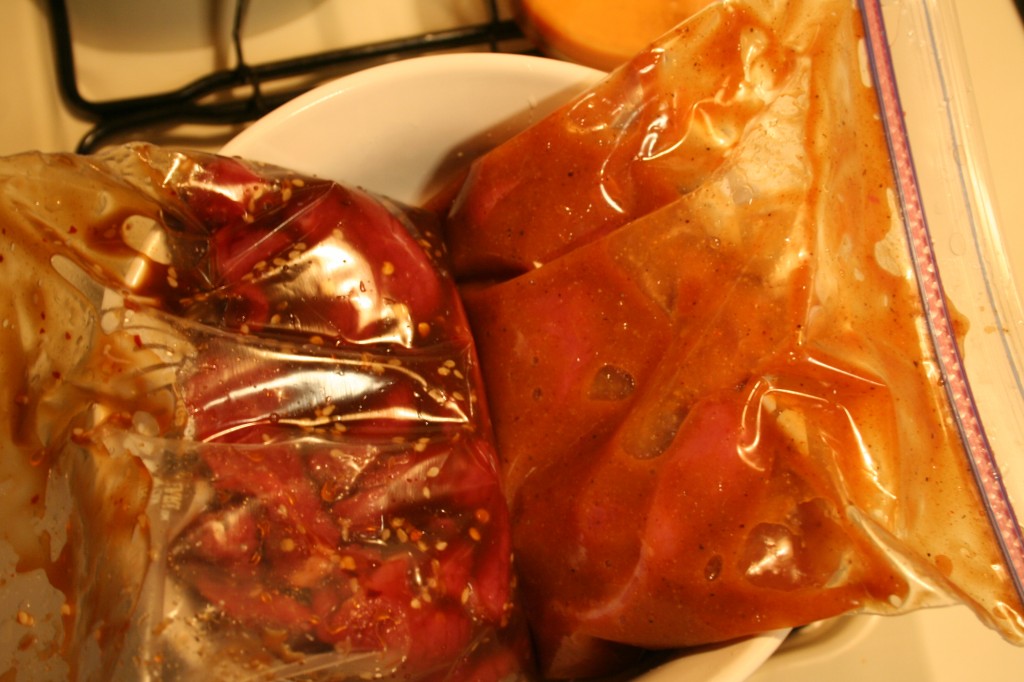
Jerky marinatingThe one on the left is Teriyaki Sesame and the one on the right is BBQ.

Once the meat was sliced up I divided it into two equal parts (about a pound a piece) and put them into two separate zip-lock bags.  Then I whipped up the respective marinades and poured them over the meat in the bags.  Then I squeezed the air out of the bags, worked the marinade into every crevice and void in the bag and let them marinate in the fridge over night.

This morning I pulled the jerky out of the bags and placed the Teriyaki Sesame on one rack and the BBQ on another.

Then I fired up my electric smoker to 155°F, which is quite easy to maintain with my PID controller for the smoker, I used only a couple chunks of hickory wood and a handful of mesquite chips for the entire 6 hour smoke.  I cheated a bit to get good constant smoke, I got a piece of charcoal going and plopped it in my smoker box for my grill and put that in the bottom of the electric smoker and added another piece of charcoal and some wood as needed to keep the smoke going.  This works well and doesn’t impact the temperature significantly.  This would be perfect for smoking some cheese….wink wink, nudge nudge.

After about 5 hours the Teriyaki Sesame jerky from the top rack was done, it was a little drier than I was aiming for but it got left unattended for a while.  I removed it and because I had covered the empty water pan with foil to keep the drippings off the element, the BBQ jerky closest to the pan needed a bit more time so I moved the rack up to the top to give it some better exposure.  About an hour later the BBQ jerky was done as well.  As I removed both kinds of jerky from the smoker I placed them on a cooling rack inside and let them come down to room temperature before putting them in a container and into the fridge.  Realistically if I was going to be keeping the jerky any longer than a day or two I would let it sit in the fridge for a while in the container with no lid on just to make sure all of the moisture that can be out is out.  But the way it gets eaten around here it will be gone tomorrow.
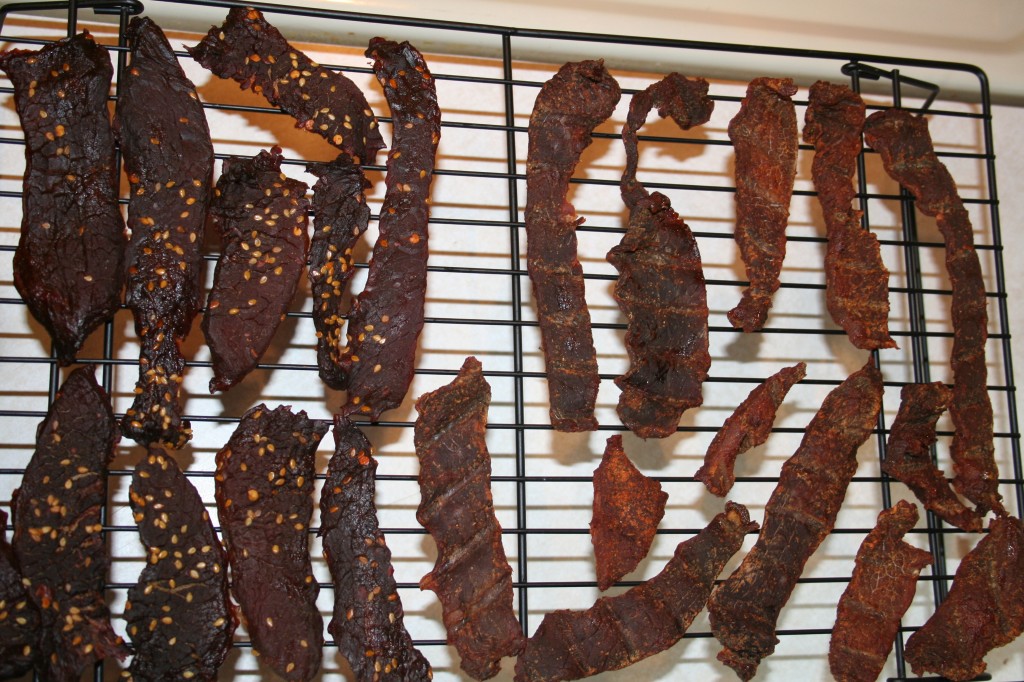
Jerky cooling offAgain Teriyaki Sesame on the left and BBQ on the right.

So how was it?  Both types of jerky had great flavor the Teriyaki Sesame was great, it tasted like I expected.  The BBQ however, I had little hope for but it surprised me, it has a great flavor that seems to be maturing as the jerky sits and it is growing on me quickly.  So at this point both of them are keepers in my book, they might get some modifications down the road but the are good as the are and can only get better.

Teriyaki Sesame Jerky
Ingredients

1 lb thinly (1/4″) sliced beef or other red meat
1 c teriyaki sauce (recipe)
1 tsp sesame seeds + extra

Instructions
Combine teriyaki sauce (if making your own allow to cool) and 1 tsp sesame seeds and pour over thinly sliced meat in a ziplock bag.  Purge air, seal and refrigerate and allow to marinate for at least 8-12 hours.  Then prepare as outlined above.

BBQ Jerky
Ingredients
1 lb thinly (1/4″) sliced beef or other red meat
1/3 c red wine vinegar
1/3 c ketchup
1 tsp salt
3 tbsp brown sugar
1/4 tsp ground black pepper
1/8 tsp cayenne pepper
1 tsp onion powder
1/2 tsp garlic powder
1 tsp dry mustard
bbq rub (such as BBQ 3000 or Bad Byron’s Butt Rub)

Instructions
Combine all but bbq rub and meat in a bowl, mix well.  Pour over thinly sliced meat in a zip lock bag.  Purge air, seal and allow to marinate in the refrigerator for at 8-12 hours.  Remove meat from marinade, place on smoker rack and lightly sprinkle with bbq rub.  Prepare as outlined above.

So far jerky has been a hit, although today’s was a little tougher than I like, I blame the meat.  It was a bad choice and now I have to live with it, although it is not half bad.  Next up, pepper jerky!
Tagged with: , , , , , , , ,

Ribs, everybody wants to make some and a lot of people are not sure how.  Well like most meat low and slow will give you a juicy and fall off the bone tender result.  But with ribs there is something special that needs to happen.  I like typically like to stick with larger cuts of meat but no man could claim to be even a novice of the BBQ without having ribs tucked away firmly in his belt.

Rack of ribs

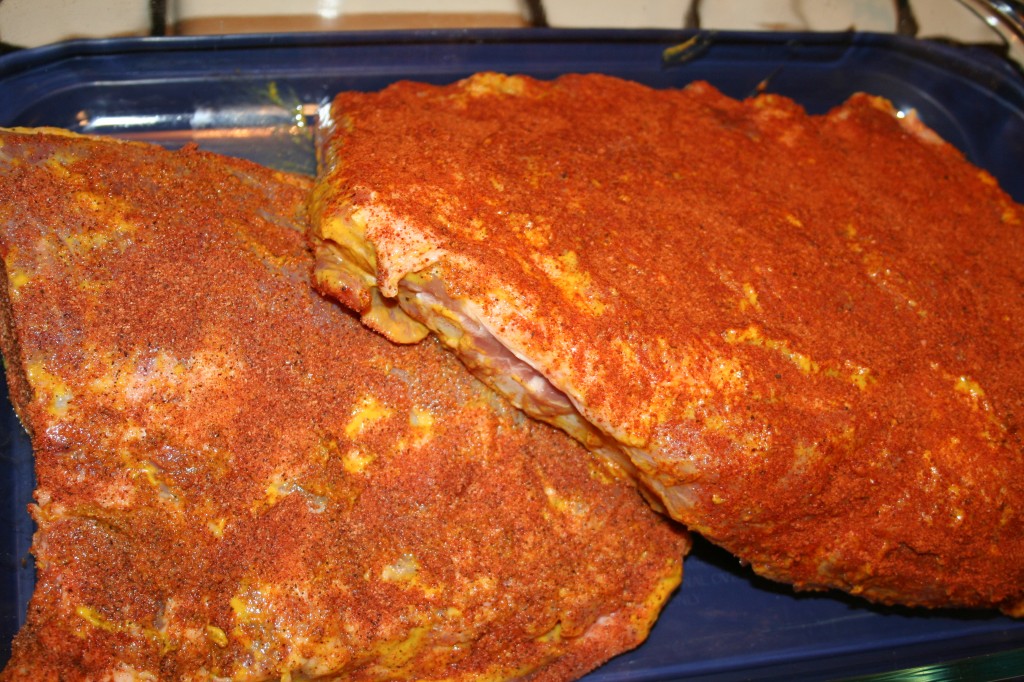
Like most chunks of meat I smoke the ribs started out the night before with a trimming, which I historically do a less than professional job at.  From there I wash the ribs and pat them dry with paper towels and then rub them.  Typically rubbing is a two part process.  The first is to coat them in mustard or some other liquid to help the rub stick and the second is the rub them with your rub.  How much is up to you, ribs have a delicacy to them that is easily over powered with too much rub.  Once this is all done is into the fridge in a sealed container to think about what they have done.

Freshly rubbed spare ribs

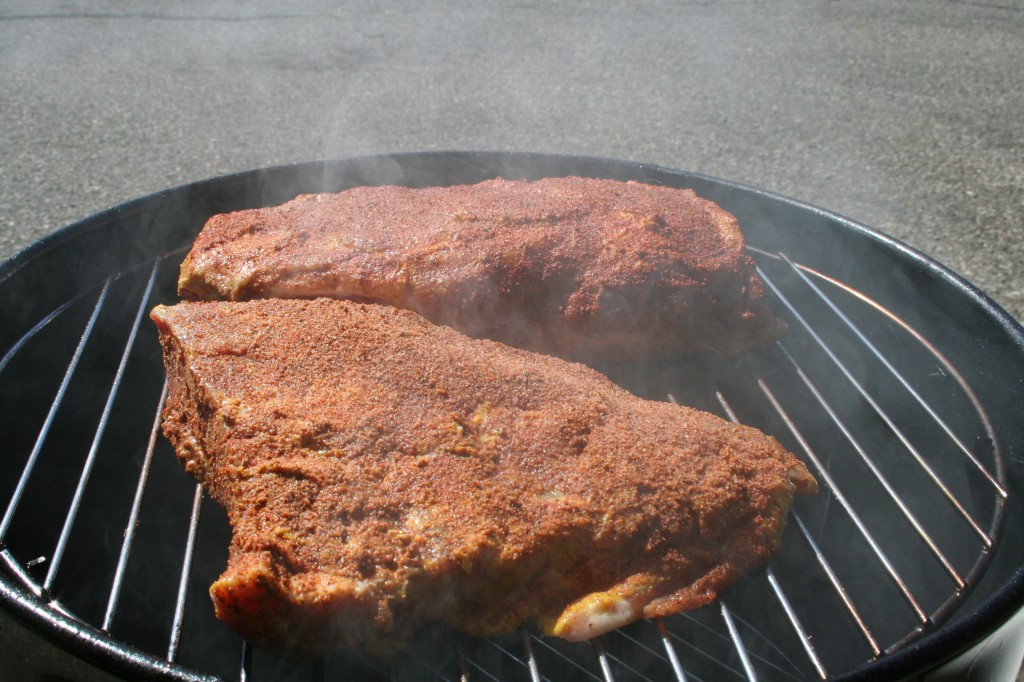
The meat (ribs) in the picture above were rubbed with two different rubs.  After a nights worth of sitting in the rub or a couple hours if that is all that is available I get the smoker ready.  I boil some water in my kettle for my water pan to speed up the preheating process and get my wood for the day ready.  Once the smoker has reached that magical temperature of 225°F it is ready for some meat.  So I lube my grate with some oil, its a habit and then throw the meat on and let the smoke start rolling.

Ribs just on the smoker

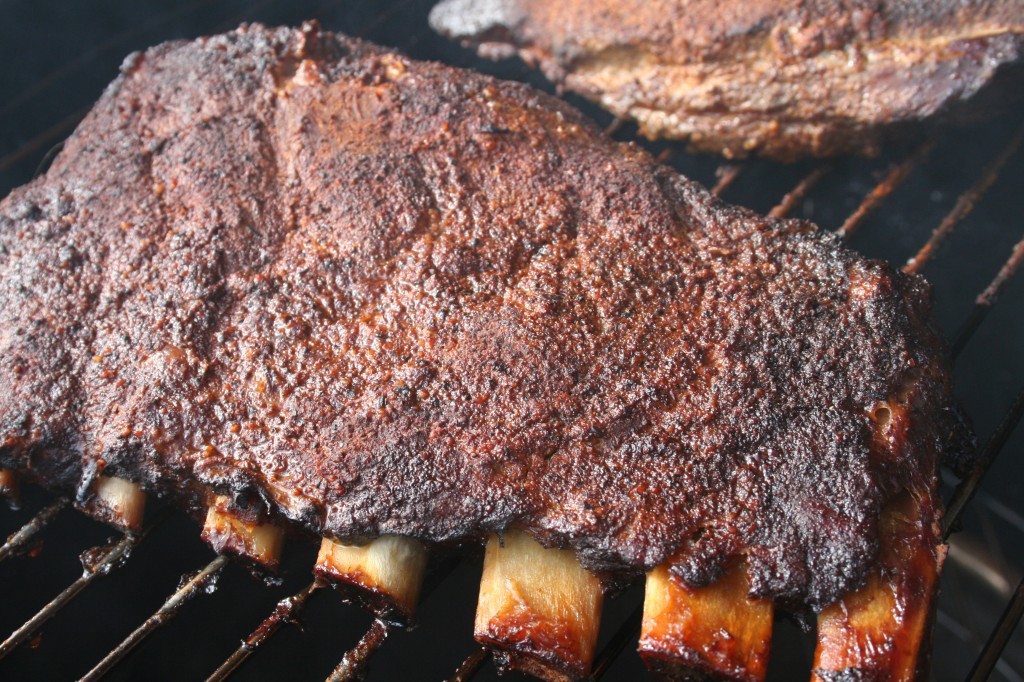
When smoking ribs I use the 3-2-1 Rib method, which is not my invention but seems to work quite well and is easy to remember.  The first stage is to smoke the ribs for about 3 hours.  The time is not nearly as important as is the appearance at this point.  Once the meat begins to pull away from the bone and has pulled back about a 1/4 inch it is time to move onto step two.

Ribs at the end of stage 3

Once your ribs are looking like these it is time to move on to step two.  Stage two is kinda hard to swallow at first, I mean I just wanna continue to flood my ribs with smokey flavor but its time to pull back for a few.  In stage two its all about time, take the ribs off the smoker and wrap them in foil with a little apple juice.  I am not sure how much apple juice I use it depends on the meat and what looks good.  You could certainly substitute some other liquid here the goal is just to provide the ribs with some moisture while they are in the foil.  Throw the ribs wrapped in foil back on the smoker for two hours and let the magic happen.  During this time the ribs are soaking up the juice and getting their fall of the bone tender status.  There is no need to supply smoke during this period.

Ribs after stage 2

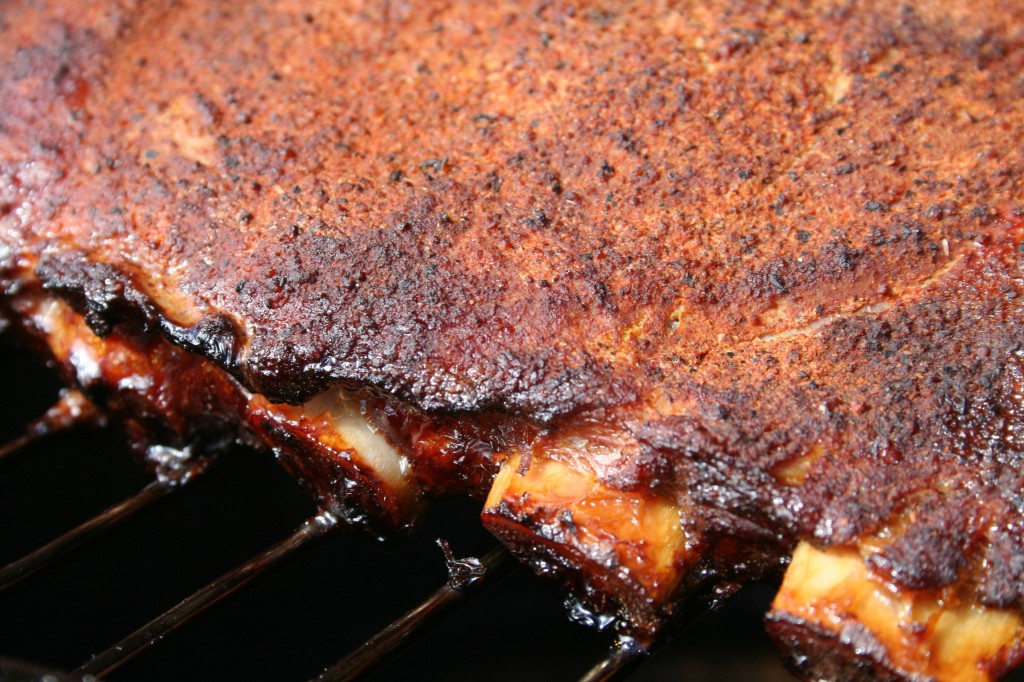
After two house in stage two remove the ribs from the foil and place them back on the smoker grate and get the smoke rolling again.  It might be time to check that water pan too.  The ribs should look like those above at this point, shrinkage has occurred and they looking kinda mushy.  That is where the final stage of the 3-2-1 method comes in smoke them until they reach 172°F in the thickest part of the meat.  This should take an 45 minutes to an hour.  If you would like to add BBQ sauce during the last 15 minutes on the smoker is the time to do this.

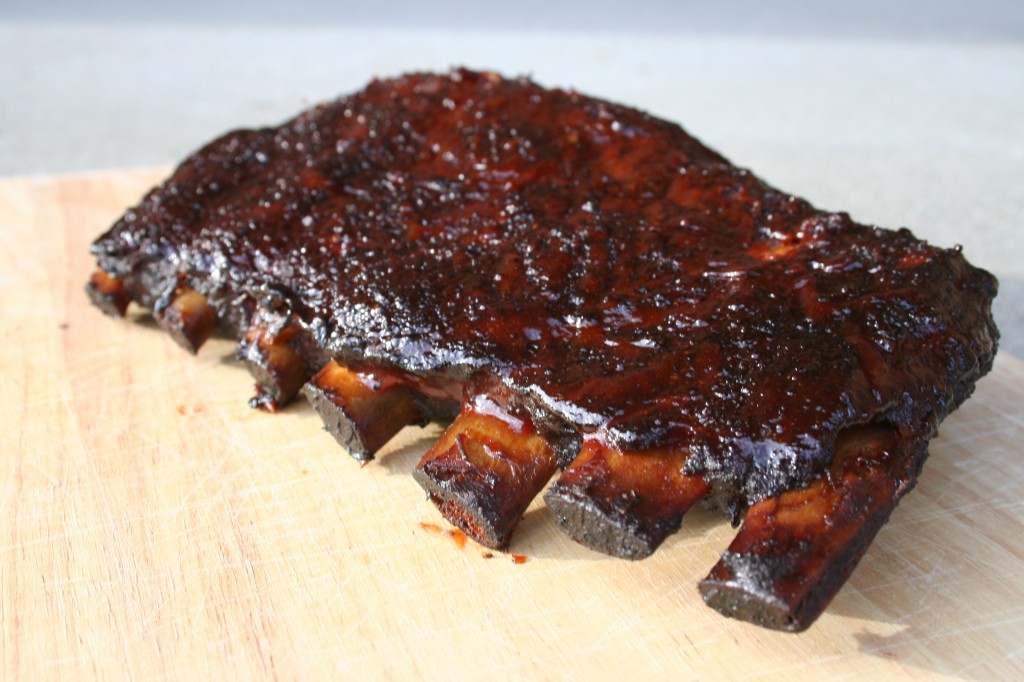
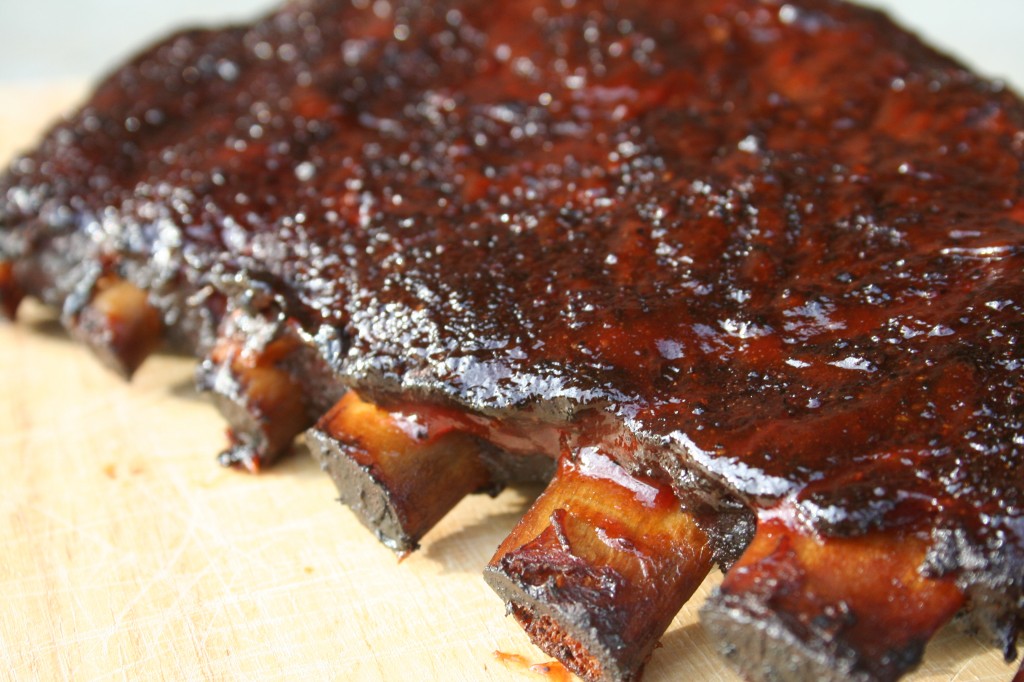
Ribs cooked to perfection

Once the ribs are done pull them off the smoker and let them rest for 15 minutes on the counter.  During this time the juices will redistribute and you will be glad you waited.  Serve and enjoy.

The 3-2-1 method assumes you are dealing with spare ribs.  If you find yourself with baby back ribs you will be looking at something more like the 2-2-1 method, just be sure to be more attentive to the meat an hour earlier with baby backs.

As with most other pork I prefer to mix apple and hickory for my ribs, gives them an excellent flavor.

Tagged with: , , , , , , , , , , ,

In a sad but true realization I am separated from my smoker this week, even though I have 3 racks of ribs in the freezer, the smoker is a city away and I will not be smoking anything this week.  So not wanting to let anything go to waste and in true Digital Chef style, we had some pears and it was not until I got into baking the muffins that I realized I did not have any ginger, so let the substitutions begin.

I started out with a recipe I found at Recipe Girl for Pear and Ginger Muffins, but like I said once I got started I realized we have no ginger here.  I debated running home and getting some but decided to wing it and use some cinnamon, nutmeg and ground cloves.  So as precise as I can recall here is the recipe I used.

Ingredients
1 3/4 c flour
3/4 c white sugar
1/2 c brown sugar plus extra
2 tsp baking powder
2/3 c sour cream
1/2 c vegetable oil
1 tbsp honey
2 eggs
3 pears peeled, cored and cubed
ground nutmeg
ground cinnamon
ground cloves

Instructions 
Preheat oven to 400°F.  Put paper muffin cups in a 12 cup muffin pan.  Mix together flour, sugar, 1/2 c brown sugar, baking powder, 1/4 tsp ground cloves, 1/4 tsp ground nutmeg, 1/4 tsp ground cinnamon in a large bowl.  In a separate bowl mix together oil, sour cream, eggs and honey.  Fold wet ingredients into dry ingredients and stir in pears.  Pout into muffin cups.  Mix a small amount of ground cloves, ground cinnamon and ground nutmeg with a couple tablespoons of brown sugar and sprinkle over muffins.  Bake for about 20 minutes.

Sadly along with my smoker, I do not have my camera so you are going to have to take my word.  They are fine looking muffins, something even a coffee shop would be eager to sell.  And well they kinda fall apart right out of the oven not like a bad fall apart but like you would want from a fresh out of the oven muffin.  Besides having an incredible texture they were moist and the fruit was just right.

Now for the real question, the question of the hour, how did they taste?  Well they taste like muffins, when I make them again I will probably add a little more seasoning but they were good.  The pears had a great flavor and were complimented nicely by the muffin.

I can’t wait to make these again.  Next time I will do a batch like this and one with ginger like the original recipe called for.  There is something about ginger and pears that just belongs, so I can’t wait to try that.

Tagged with: , ,

Cooking over an open fire is an experience that draws on our most primitive abilities and its quite refreshing to just step back and cook like a caveman or nomad or whatever other people cook on an open fire routinely.

Cooking on an open fire is not that difficult, it may seem intimidating at first, but, the most difficult part is finding a time and place to do it.  It does take a little more time than just firing up the stove but like I said it is rewarding.

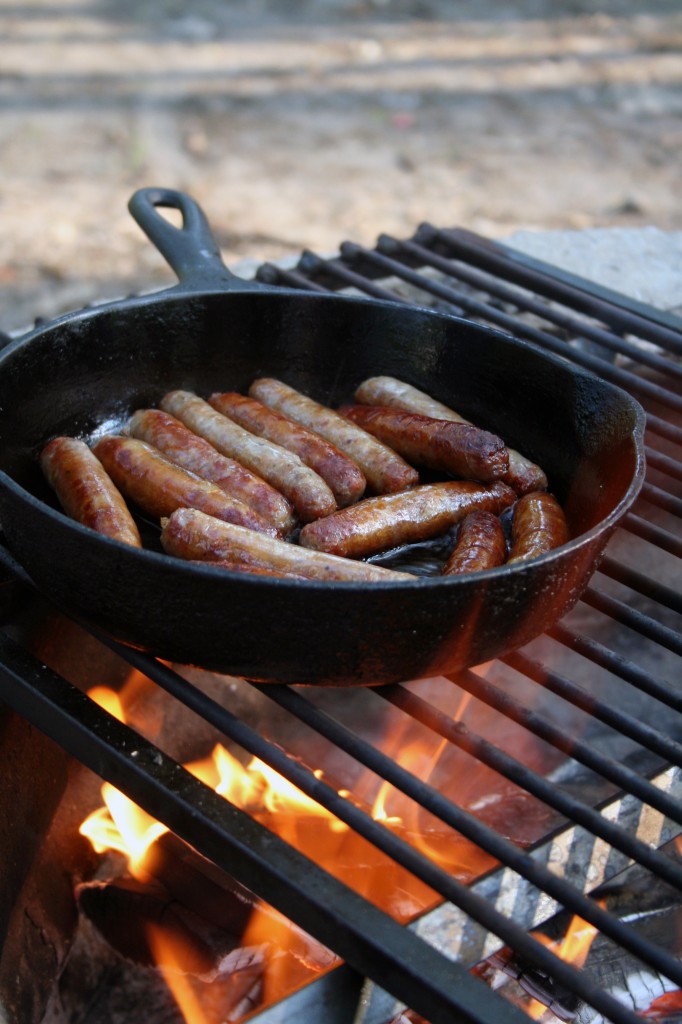
Sausages on an open fire

The requirements are also quite sparse, you will need not much more than you would to make a normal breakfast on the stove.  You will need a cast iron skillet, some hardwood, a rack to suspend the skillet above the fire and some patience.  We had a fire the previous night so I woke up to some yet hot embers which I arranged in the pit, piled on some crumpled newspaper and some scraps of wood and blew on the embers until I had a flame.  At which point I nursed the fire with some hardwood until it had burned down into a nice consistent bed of coals that covered an area about twice the size as my skillet.  Once this was accomplished I chopped some of the remaining bits of hardwood into smaller pieces of wood, to be able to throw them onto the bed of coals to get more heat as needed.

After this I put the rack over the pit and placed the skillet on it with a bit of oil and added some sausages, cooking them until they were done and then it was onto pancakes and eggs in the same method.  The eggs were actually cooked in the sausage grease which made them all the better.  Several times throughout the cook more scraps of wood (kindling) were added to the coals to get more heat.  It worked great.

Cooking like a caveman is a great way to step back and just focus on cooking.  Focusing on the heat and the food.  It was great.  It reaffirms reason #2 of the 10 reasons to have a cast iron skillet.

Tagged with: , , ,

It is summer and I should be BBQ’n or smoking something in the smoker but, lately I have been fascinated with pizza and getting it right.  I have a new found love of no knead pizza dough, the crust is tasty and easy to make, but requires a little planning.  A couple weeks ago I made some no knead pizza dough and baked it in a hot cast iron skillet, which worked pretty good or so I thought.

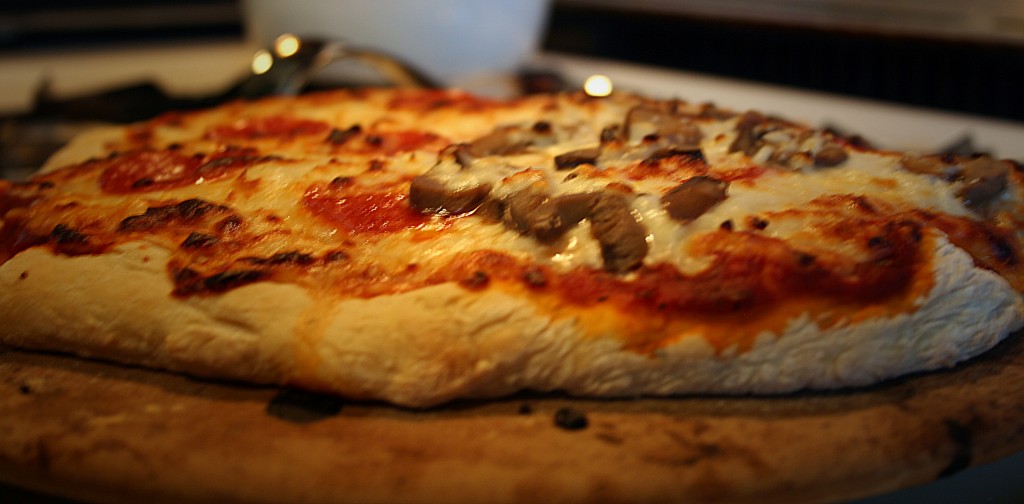
Pizza on a pizza stone

Way back in my cupboard was a pizza stone that we had not used in a couple months, so out it came and into the 500°F oven until it was hot.  I did everything like before, plopped the dough on the stone; added sauce, cheese and toppings as quickly as possible and popped it back in the oven.  It did its thing, somehow cooking pizza on a stone is magical the crust was ‘fluffier‘ than before, it was awesome.  It did take me a while to realize how awesome it was, it wasn’t tell I was sitting back craving more pizza that I realized it was that good and it only had mushrooms and pepperoni on it.

I learn a couple of lessons this time that I will be applying to the next pizza we make.  First I will be sure to bake the crust alone in the oven for a few minutes prior to topping with sauce, cheese and toppings.  And second if I am going to be using alot of moist toppings I will be sure to pre-cook them a bit to get some of the moisture out.  With those two things, I dare say it will be pizza baking perfection.

Tomorrow we try pizza on the grill, wood-fire style.

Tagged with: , , , ,